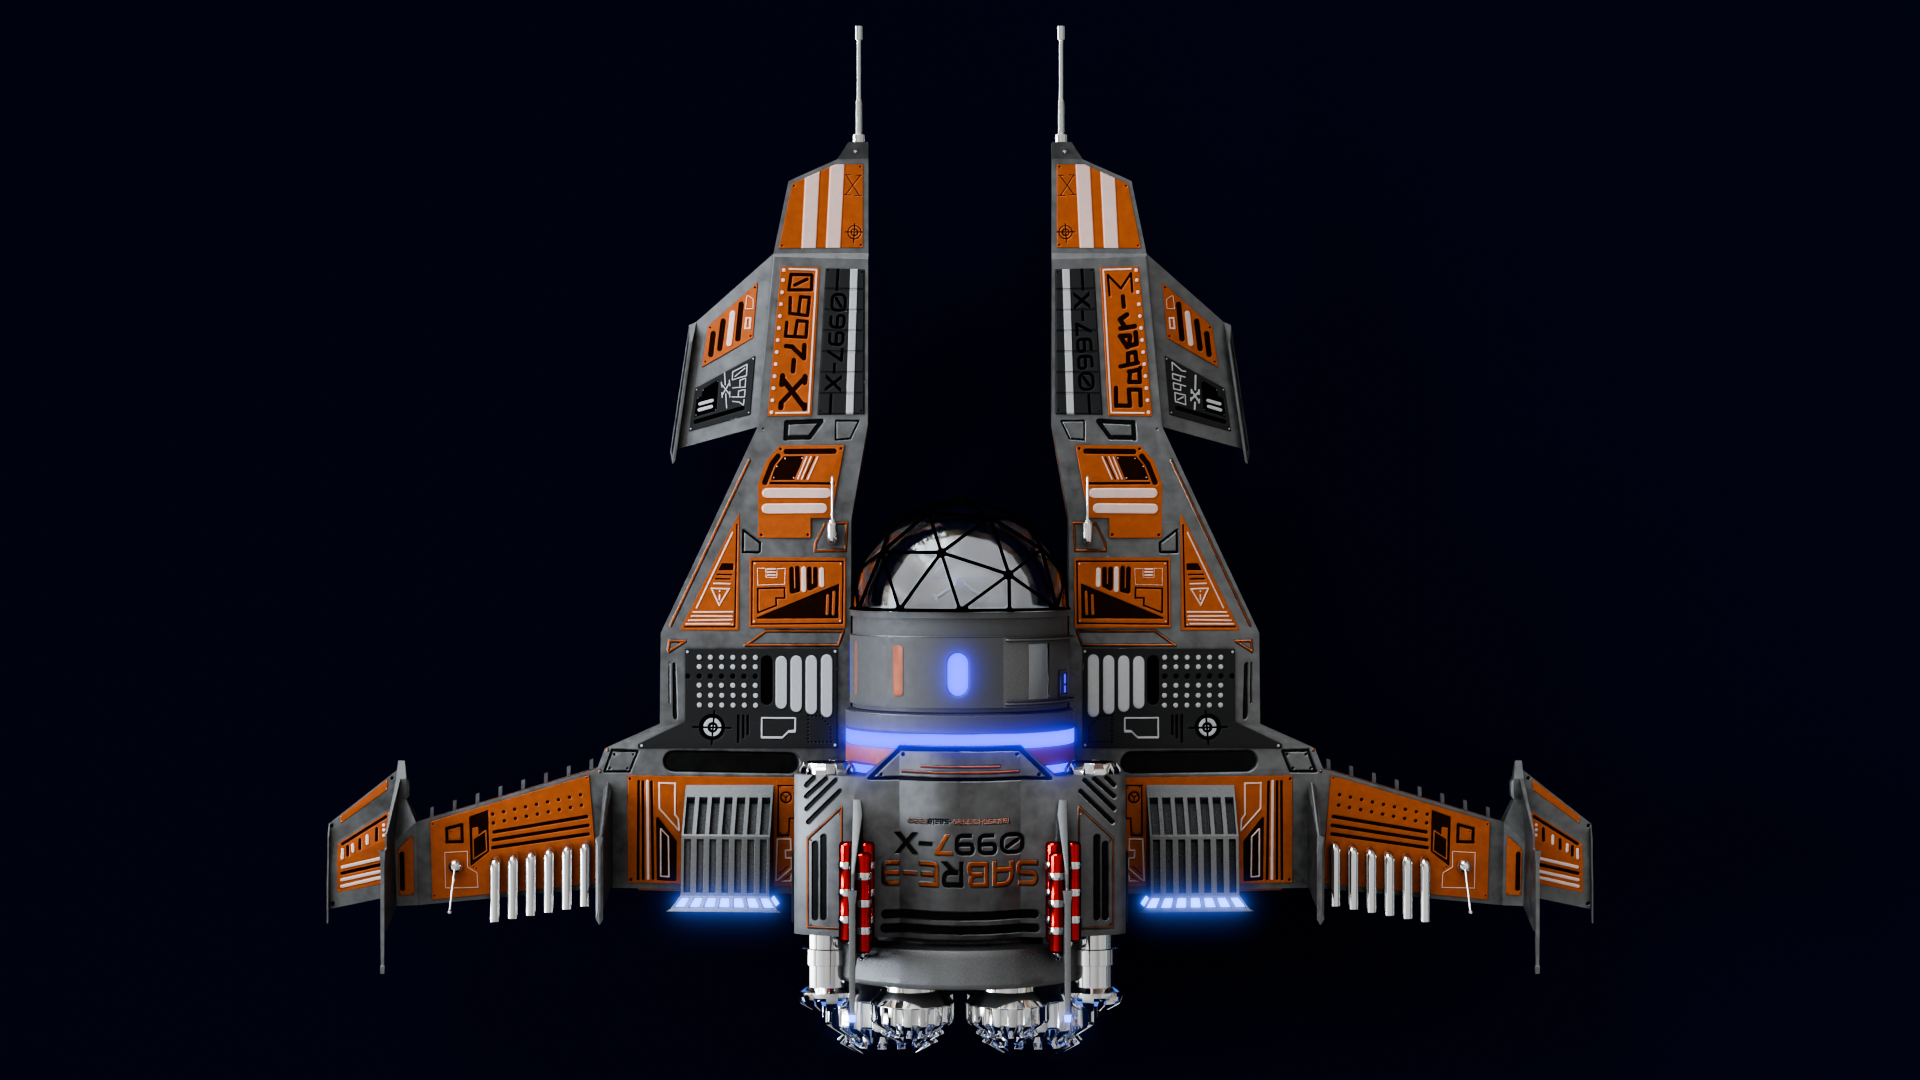
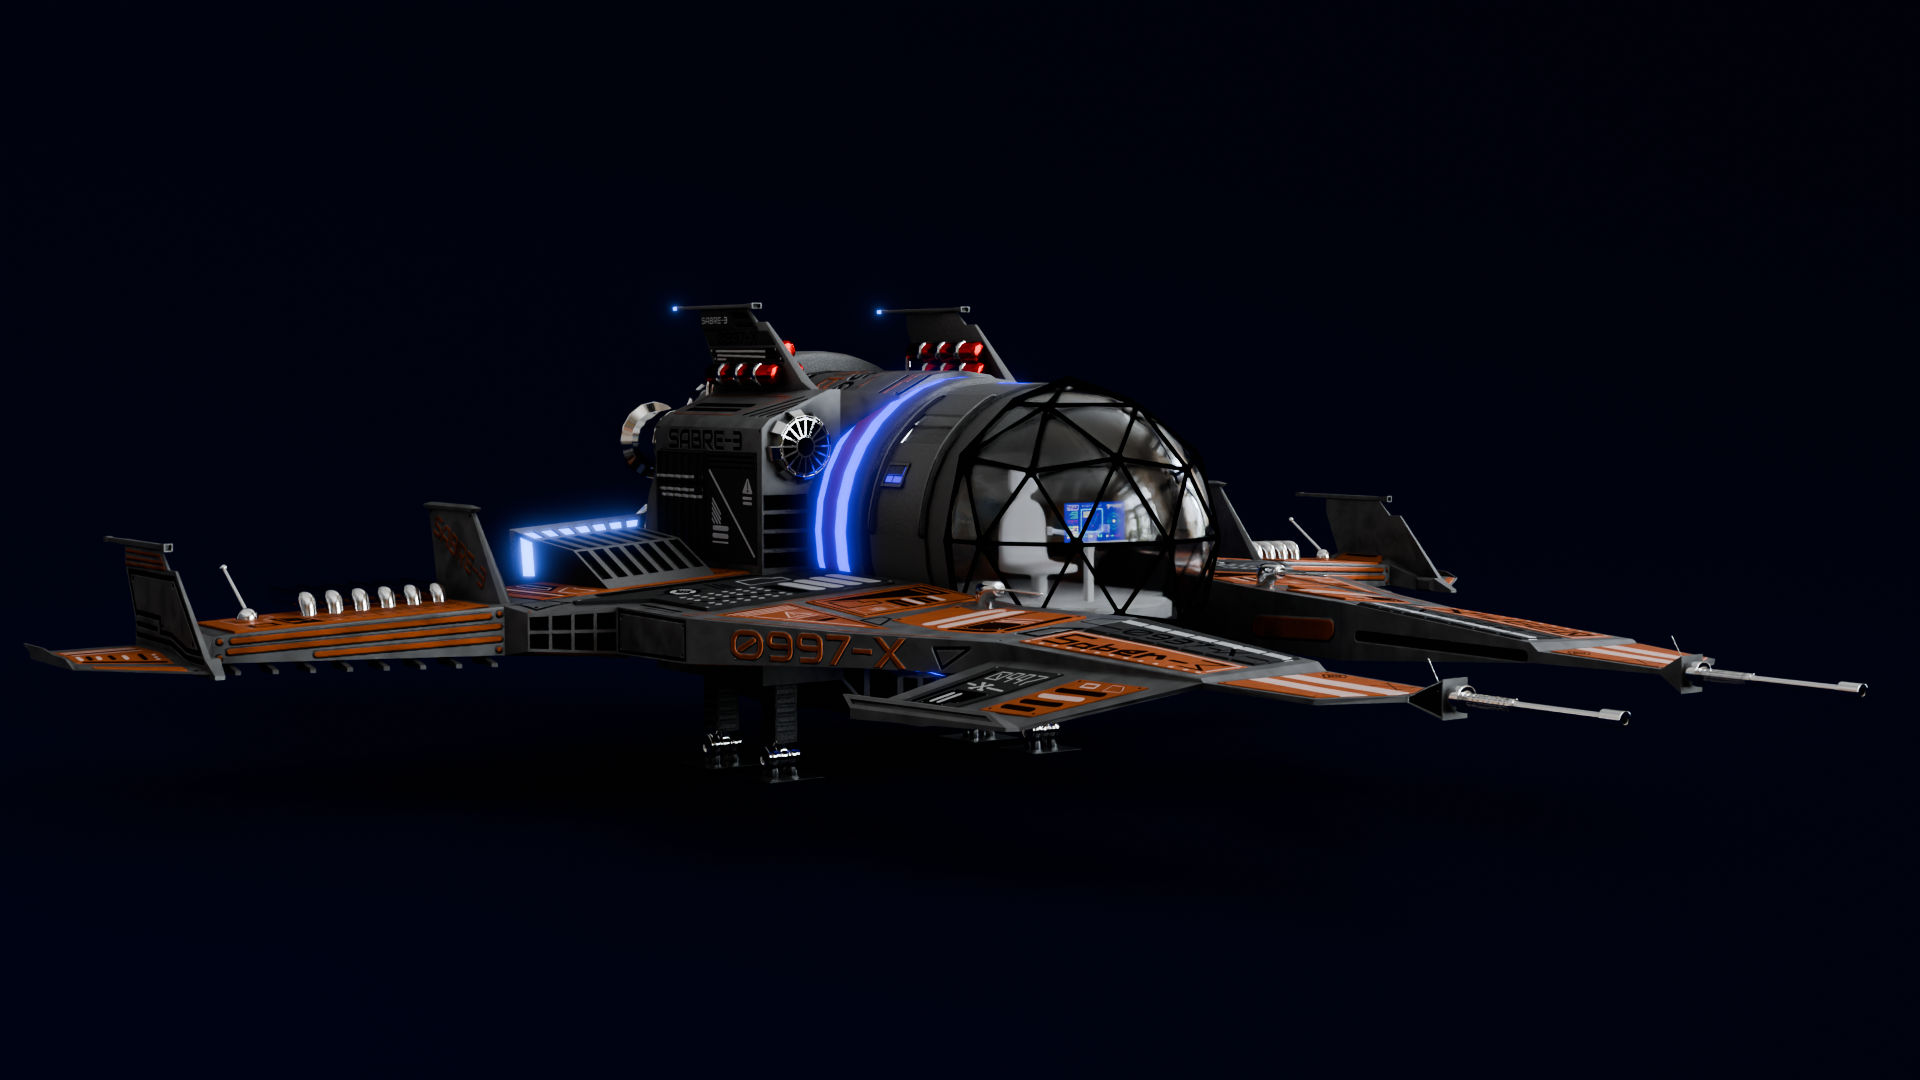
Sabre 3
A sci-fi spacecraft created in Blender with procedural textures and powerful texture maps.
Final Render
Process
Modeling
The modeling process involved creating the basic shape of the spacecraft using Blender's modeling tools. I started with a simple cube and used various techniques such as extrusion, beveling, and sculpting to achieve the desired shape. Overall, simple hard surface modeling was used.
Texturing
The texturing process involved creating procedural textures in Blender to give the spacecraft a realistic and detailed appearance. While the model itself has a simple shape, bump maps and normal maps were used to add intricate details to the surface, such as panel lines, rivets, and other small features that enhance the visual complexity of the model.
Figma was used to create the stencils for logos, which were then applied to the model in Blender.
Riging
Parts of the model were rigged to allow for animation. The doors and legs were asigned to bones and Inverse Kinematics was used to create realistic movement for these parts.
Hologram
The hologram was created by finding a clipart image of a control panel, in which image colors were mapped to new colors to create a holographic effect. The image was then applied to a plane in Blender and given a transparent material and some emission to achieve the desired look. Another color ramp was used to map colors to different levels of emission.
Render
The render itself was simple. An HDRI was used for lighting, and the render was done in Cycles with a few samples to achieve a good balance between quality and render time. The base is a simple L shaped plane with a bevel with a material that has a noise texture to create a rough surface, high diffuse to minimise reflections.
Compositing
The compositing process involved adding a glow effect however the lighting on the model was causing unintentional glow on the body of the model, so I had to use a mask to isolate the glow effect. This was achieved by creating a cryptomatte mask in Blender that only included the hologram and emission shaders and then using that mask in the compositing stage to apply the glow effect only to the glowing bits., while keeping the rest of the model unaffected.